Space-Conscious
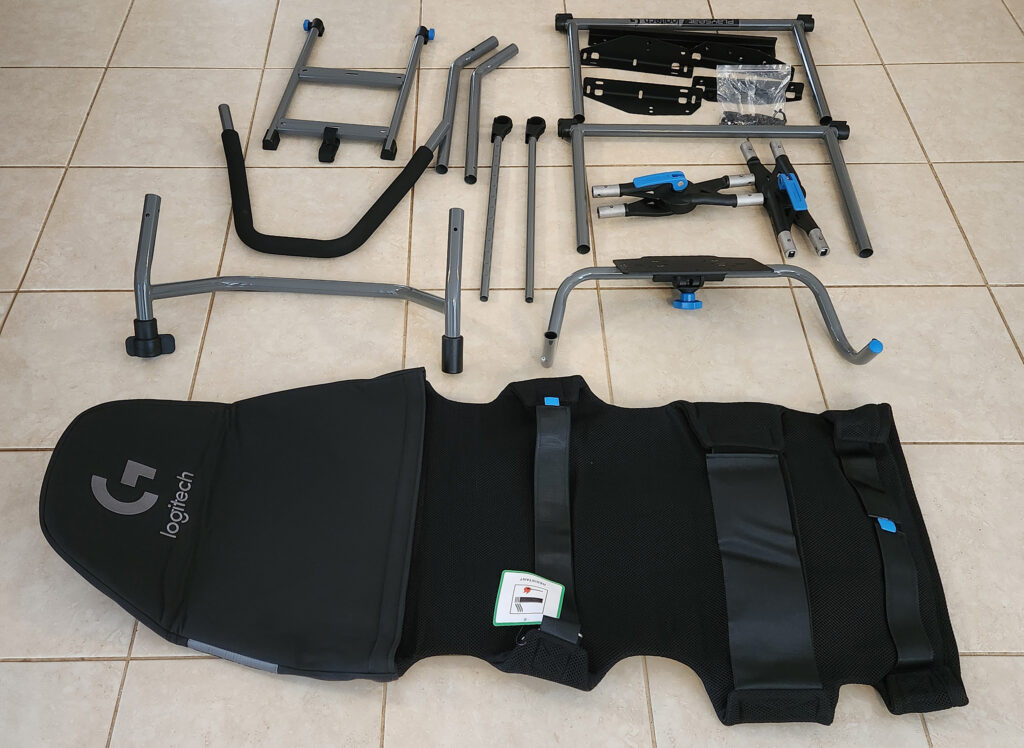
Having decided to get a wheel-and-pedals combo for Gran Turismo 7 VR – which I’ll be writing a series of articles on soon enough – I also needed to get some kind of racing chair setup to go along with it. But I also don’t have a space to dedicate to a whole sim racing rig to sit permanently in. Based on my research, the best-value solution for this was Logitech’s PlaySeat Challenge X, a fold-up design with its own table for the wheelbase. The photos I saw showed it folded into a surprisingly slim state, even with wheel bases and pedals already attached, so it could fit in the side of my wardrobe with little issue. Assembly was mostly a matter of following the manual’s illustrations and diagrams, but I felt this article would still be worth writing for those who prefer a written guide with photographs, as well as for those who want a better look at the assembly process before buying – and for those who want to spot my screwups.
My First Mistake
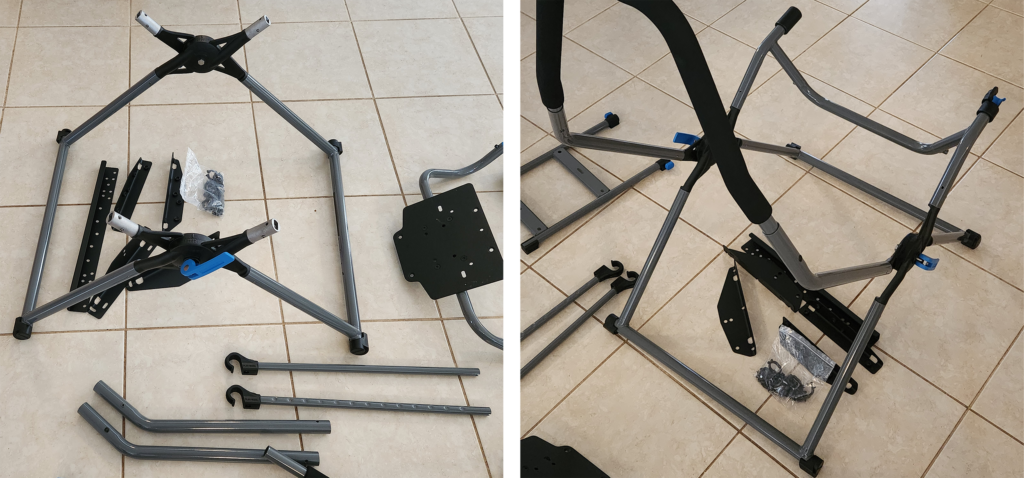
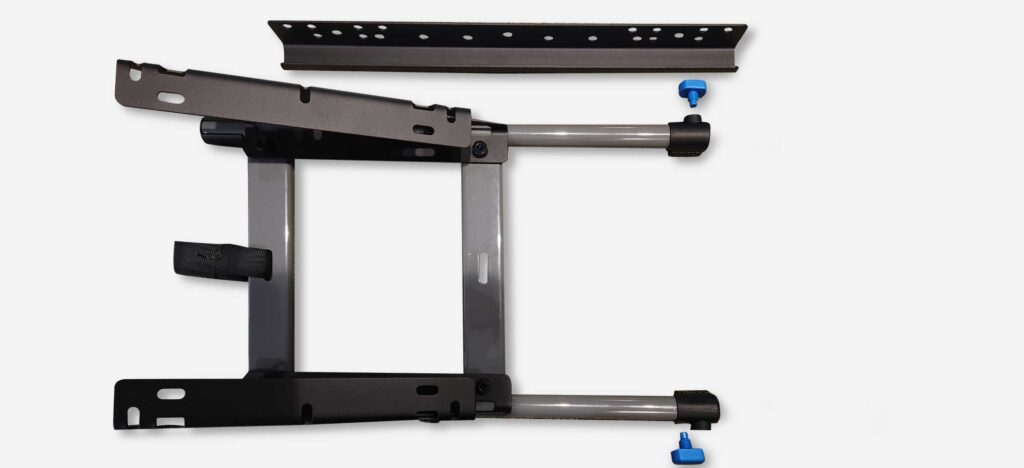
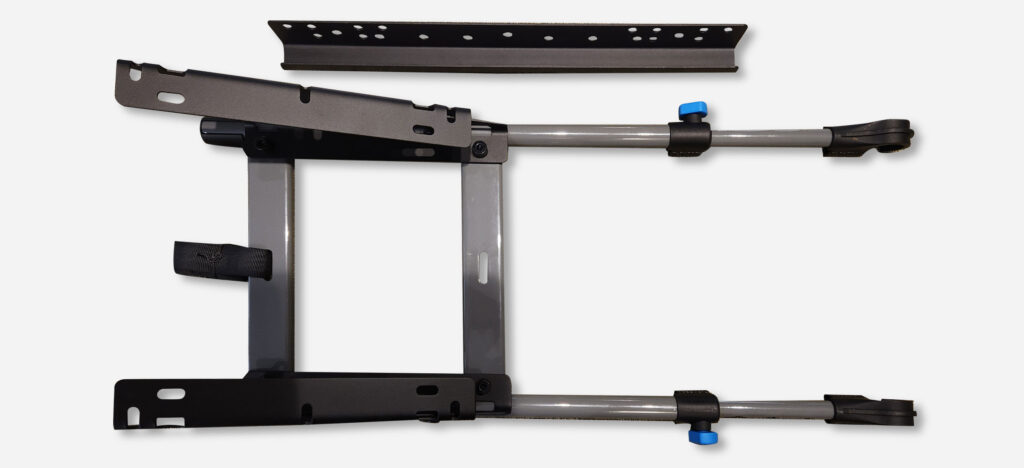
The first steps are pretty simple. You take the PSCX 08 parts with the blue handles – sharing the same name as they are completely identical – unlock them, and set them into an X shape before relocking them. You then take PSCX 01 and 02 – similar but NOT identical, crucially – and fit them into the 08s. These pipe mechanisms use tiny protrusions that must be pressed down as the pipes are connected, so they can then be lined up with the matching holes to make a firm lock The 08s should of course have their handles facing outwards, but you also need to avoid the mistake I made here by not noticing the difference between 01 and 02. 02 is completely symmetrical and should be behind the player, while 01 faces forward and is not completely symmetrical – it has a stability stick that can be pulled out, which needs to be on the left side. I missed this initially and put it on the right, which forced me to disassemble and reassemble later. Next, combine PSCX 05 and 06 with 07 and fit the result to the back of the 08s – this will form the headrest. Following this, you want to attach PCSX 03 to the front of the 08s with the locking mechanism on the right. Pay attention to this locking mechanism, as it can be a little tricky to operate.
The Front Table and Lock
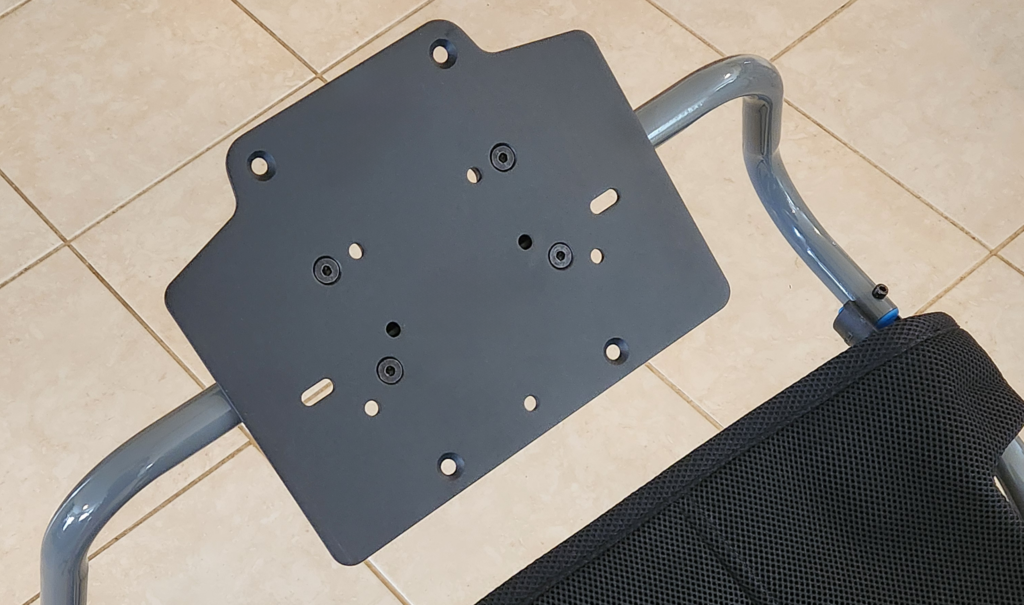
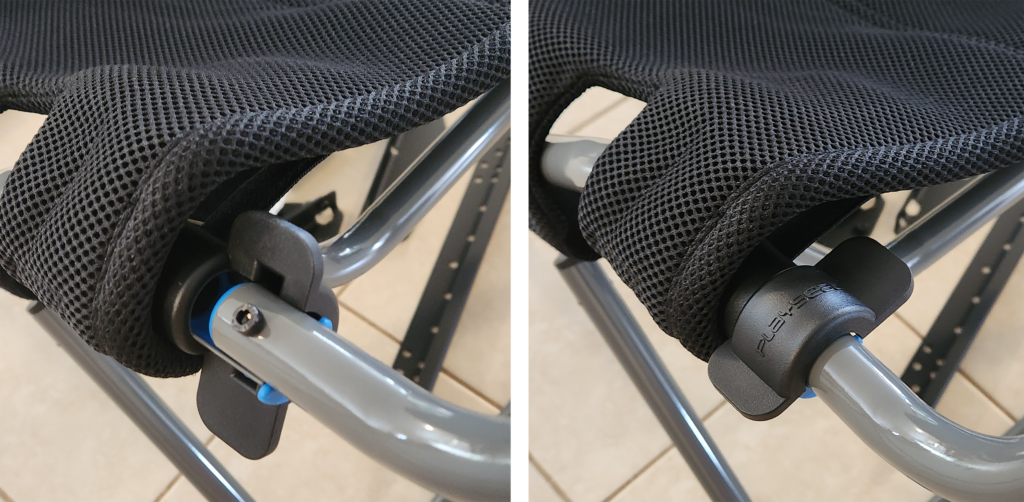
Before attaching the front table, you first need to take the fabric portion – PSCX 16 – and pull it over PSCX 07, then 05 and 06, and so on, as shown in the manual. This will form the “seat”. Once you have pulled it down in full, attach both the large velcro straps (designed to hold the pedal holder in place when the seat is folded up), and the smaller velcro straps made to take your weight – these ones especially should be attached carefully, using the most amount of surface area you can. They’ve been able to handle my approximate 100kg – I can’t personally promise better than that, but if you weigh less than me you should be fine. Next, the front table – referred to in the manual as PSCX 04 – must be attached to 03, with the table obviously facing up. The left side is designed to fit in permanently and swivel, while the right side is made to fit into the locking mechanism. To get into the seat, you’ll need to unlock the table bars (shown above) and rotate the left bar to move the table out of the way. As I noted above, please be careful when unlocking the mechanism – I’ve found that the bar tends to sit a bit too far out for you to simply turn the lock, and if you try to do this forcefully you can damage the blue plastic part – make sure to push or pull the entire PSCX 04 closet to the seat as you unlock it to avoid damage.
Pedal Holder

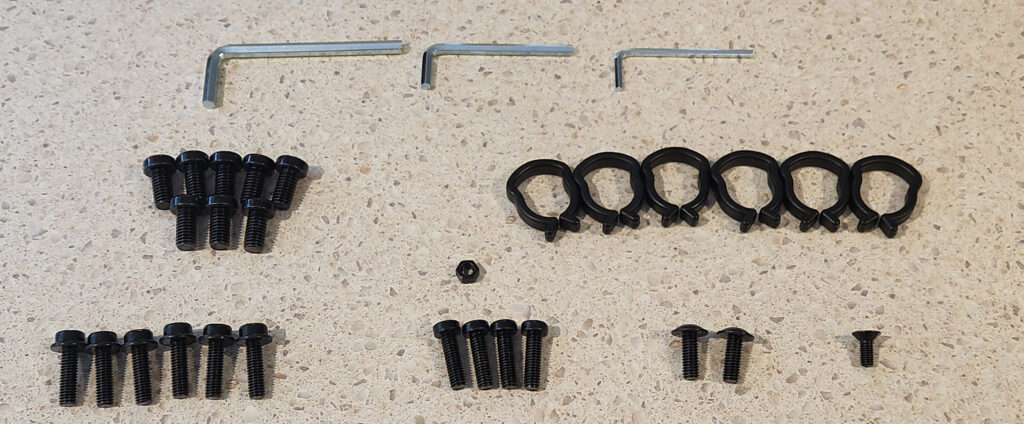
This pedal holder can largely be put together as shown in my photographs and the manual – you just need to be sure you’re using the correct screws. What I want to specifically note here is that this may not be necessary – I went through this whole attachment process before realising that my pedals didn’t match up to it. With the PlaySeat Challenge X being a Logitech product, it is designed first and foremost to be combined with other Logitech products. In my case, using Fanatec pedals, I only needed to attach PSCX 09, 10 and 11 together, with 12, 13, 14 and 15 being unneeded. I’ll dig into this further in an upcoming article.
Final Conclusions
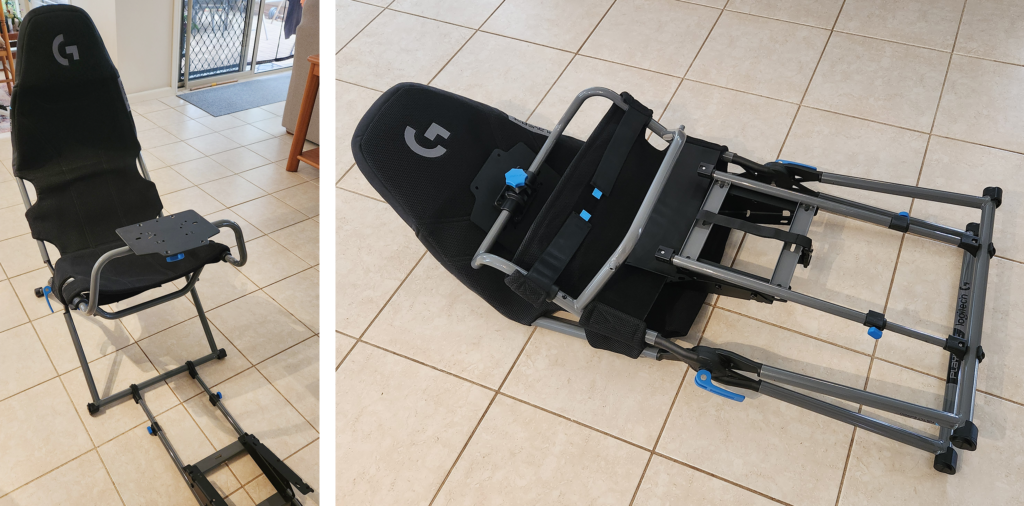
As you can see, the fully-completed PlaySeat Challenge X is comfortable, adjustable, and very quickly folds into a surprisingly small package. The result is something I can very strongly recommend to anyone who can’t dedicate permanent space to a sim rig. A more fixed seating arrangement would likely be more comfortable and stable, and if you’ve got money to burn you can even get racing chairs with their own motors, but for a great many people that isn’t an option. If that’s you, I strongly recommend this seat.